
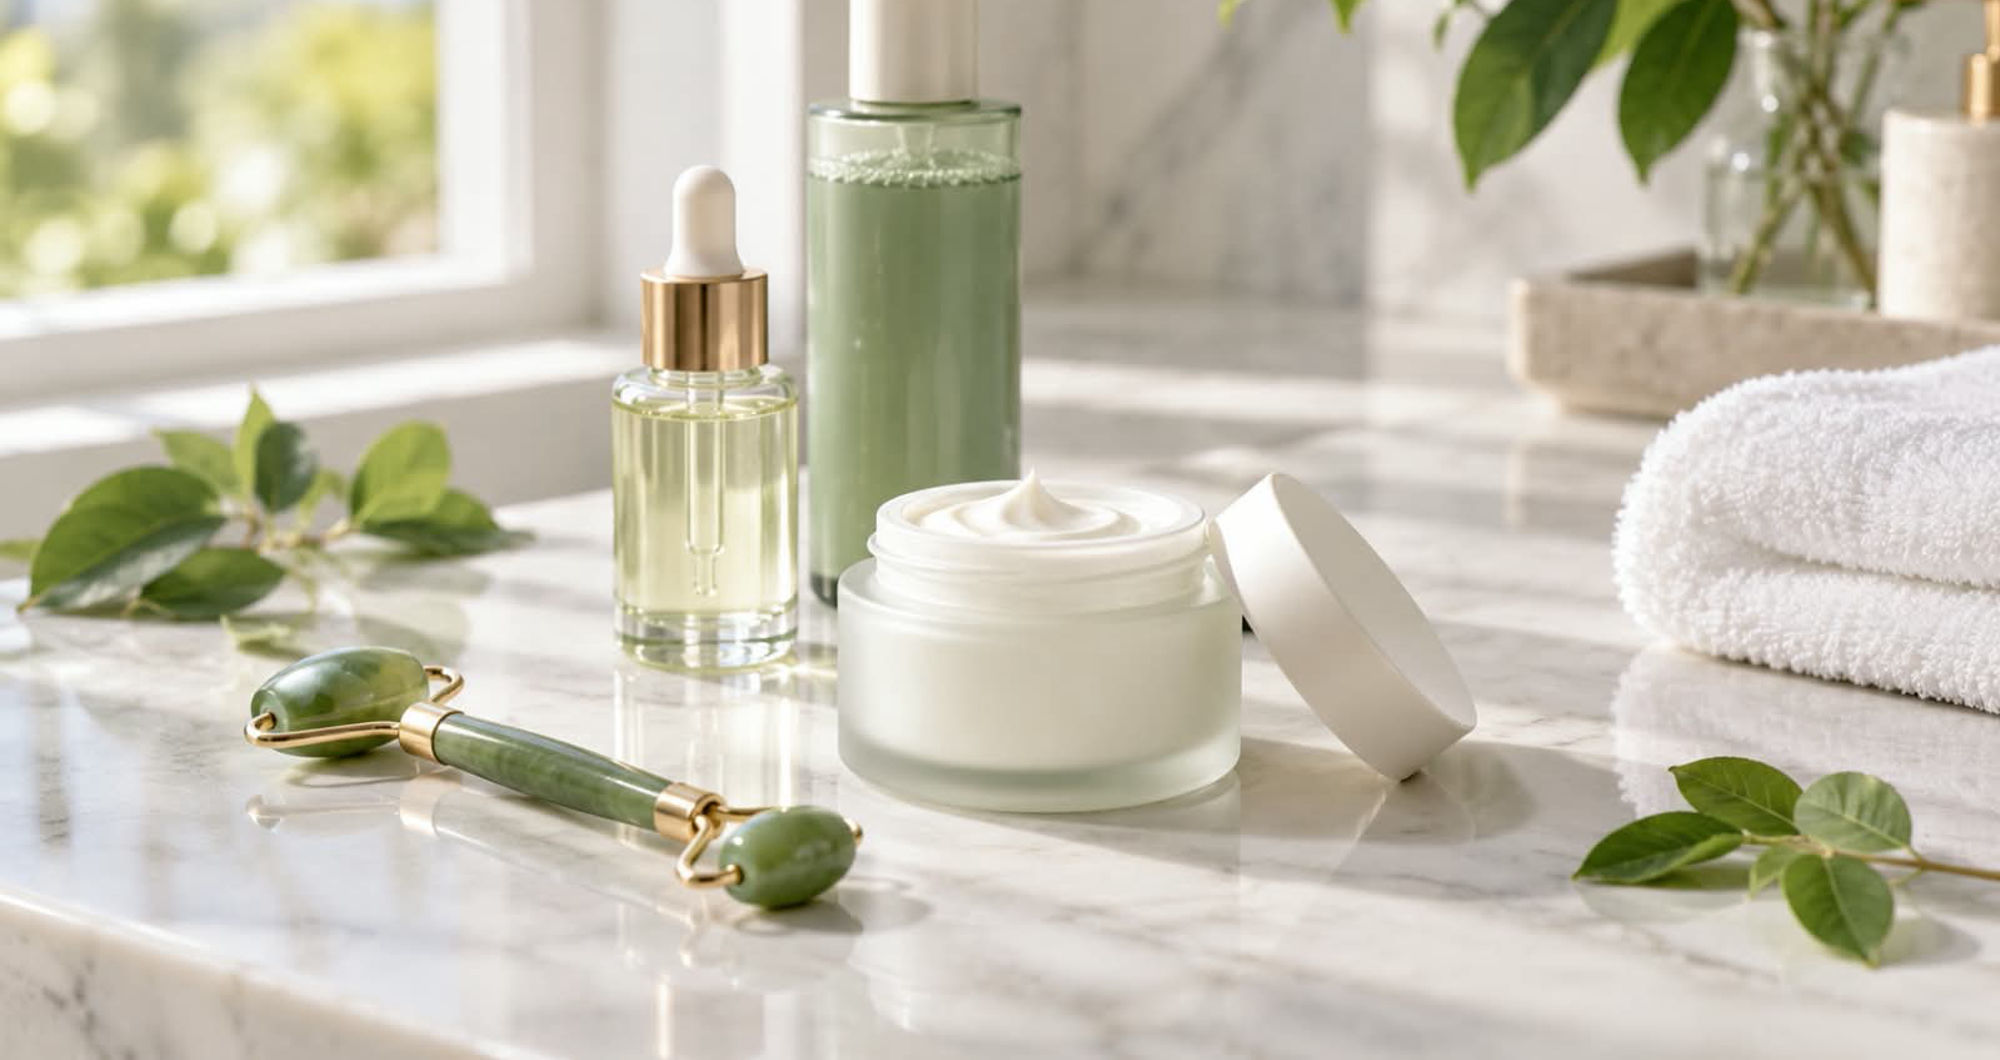

Finding the ideal face moisturiser can feel like an overwhelming quest, given the dizzying array of lotions, creams, gels and balms on beauty shelves today. However, choosing a formula that matches your skin type is the foundation of a healthy, glowing complexion. A well-designed moisturising routine does more than add surface hydration; it reinforces your skin’s natural moisture barrier, seals in the products applied before it, and helps prevent environmental factors from stripping away essential lipids.
Whether your skin is oily, chronically dry, sensitive or a mix of all three, long-term success comes from understanding how hydration fits into a broader care routine. The effectiveness of your favourite moisturiser depends heavily on how well you prepare your skin through proper cleansing, targeted serums, at-home facial devices and daily massage. By viewing your moisturiser as the finishing step in a thoughtful regimen, you can lock in hydration and support a balanced, smooth and resilient skin barrier every day.
Matching Your Moisturiser to Your Skin Type
The first step is to choose a texture and set of ingredients that suit the way your skin behaves.
- Oily skin: Look for lightweight, oil-free gel or gel-cream formulas labelled non-comedogenic. Ingredients such as hyaluronic acid and niacinamide hydrate without adding heaviness or clogging pores.
- Dry skin: Choose a richer cream with ceramides, shea butter or squalane to replenish lost lipids. A dedicated moisturiser for dry skin helps reduce tightness and flaking, especially during the colder months.
- Combination skin: A light lotion usually works best across the whole face, with a little extra cream applied only to drier areas such as the cheeks.
- Sensitive skin: Opt for fragrance-free formulas with a short ingredient list and soothing ingredients such as centella asiatica or panthenol. Always patch-test a new product before applying it to your whole face.
Once you know which type of moisturiser suits you, the steps that come before it determine how well it performs.
What Colour Light Therapy Works Best for Dark Spots?
In recent years, at-home light therapy has become a popular way to address uneven tone, hyperpigmentation and sun damage alongside daily topical products. If you are wondering which colour of light therapy works best for dark spots, green light is the option most often recommended, while red and near-infrared light are used to support overall skin renewal. Research is still developing, but green light is thought to act on melanocytes, the cells that produce melanin, helping to reduce excess pigment production over time.
After a light therapy session, applying a vitamin C serum or cream as part of your morning routine may complement the treatment, as vitamin C helps neutralise free radicals and inhibits tyrosinase, the enzyme that drives dark spot formation.
- Green Light (525 nm): Commonly used to target hyperpigmentation by slowing excess melanin production, which may gradually fade sun spots and even out skin tone.
- Red Light (630–660 nm): Reaches deeper into the skin and is associated with collagen support and faster cell turnover, which can help shed pigmented cells.
- Yellow Light (590 nm): Often used to calm redness and soothe sensitive skin that is prone to post-inflammatory hyperpigmentation after breakouts.
Understanding which light colour suits your concern helps you customise your home treatments safely. Combined with consistent daily sun protection and a nourishing moisturiser, light therapy can support a clearer, brighter complexion.
Microcurrent Facial Treatment: How to Prepare and Hydrate Your Skin
While light therapy addresses tone and pigmentation, a non-invasive microcurrent facial treatment focuses on firmness and facial contouring. By delivering low-level electrical currents, microcurrent devices are designed to stimulate the facial muscles and are thought to support cellular energy and collagen production. Because the current needs a water-rich medium to travel effectively across the skin, thorough hydration before every session is essential.
Using a microcurrent device on dry skin can cause uncomfortable stinging sensations and also reduces the device’s effectiveness.
- Apply a Water-Based Conductive Gel: Always apply a generous layer of conductive gel, hyaluronic acid serum or an aloe-rich formula to ensure smooth conductivity and easy gliding across the skin.
- Avoid Oil-Based Formulas Before Treatment: Oils act as insulators and can block the current. Save rich face oils and heavy creams for after your microcurrent session.
- Keep the Skin Hydrated Throughout: Keep a hydrating facial mist nearby to spritz your face during longer sessions, so the conductive layer stays moist throughout the treatment.
Proper hydration before and during a microcurrent session minimises skin drag and prepares your skin for the moisturiser that follows. Microcurrent devices are not suitable for everyone, including people with pacemakers or other implanted electrical devices and those who are pregnant, so check with a doctor or dermatologist before starting at-home treatments.
Facial Lymphatic Drainage Points: Supporting Healthy-Looking Skin With Massage
Even the most advanced skincare products can struggle to show results when fluid builds up in the face, causing puffiness. Knowing the main lymphatic drainage points of the face lets you perform a gentle massage at home. Unlike the cardiovascular system, which relies on the heart to pump blood, the lymphatic system depends on muscle movement, gravity and gentle pressure to move fluid and reduce puffiness.
Massaging the key drainage points takes only a few minutes and fits easily into your daily cleansing or moisturising routine.
- The Submandibular Nodes (Under the Jawline): Gently sweep your fingers from the centre of your chin outward along the jawline towards the angle of the jaw to direct fluid down into the neck.
- The Pre-Auricular Nodes (In Front of the Ears): Lightly massaging the smooth area in front of your ears helps collect fluid draining from the cheeks, eyes and forehead.
- The Supraclavicular Nodes (Above the Collarbone): Finish every facial massage with gentle downward strokes towards the hollows above your collarbones, which act as the final drainage outlet.
Practising these facial lymphatic drainage techniques also encourages circulation. When performed just before applying your face moisturiser, a gentle drainage massage can help reduce morning puffiness, define your natural contours and help your moisturiser spread evenly for a healthy glow.
Beta Arbutin and Calming Serum: Ingredients to Consider for Your Skin Type
When building a targeted skincare routine leading up to your moisturising step, choosing gentle yet effective active ingredients is key to treating specific concerns without stressing your skin barrier. If you struggle with stubborn hyperpigmentation, uneven skin tone or dark marks from old acne, beta arbutin is an ingredient worth exploring. Found naturally in plants such as bearberry, cranberry and blueberry, beta arbutin is a gentle, stable brightening agent that gradually fades discolouration by inhibiting excess melanin production, without the dryness or peeling often associated with harsher exfoliants.
To prevent redness or irritation from active brightening ingredients, pair your brightening step with a calming serum. A well-formulated calming serum with centella asiatica, heartleaf extract or panthenol helps soothe sensitive, stressed skin, restore surface moisture and reduce visible redness.
Apply a lightweight calming serum to clean skin and allow it to absorb fully. Then follow with a face moisturiser containing ceramides or fatty acids to lock in hydration and support the skin barrier. Whether you use beta arbutin to fade dark spots or a calming serum to manage daily sensitivity, this layered approach keeps your skin balanced, calm and nourished.
Green Cleanser: How to Choose a Gentle Cleanser Before Moisturising
The journey to well-hydrated skin always begins at the sink. No matter how luxurious or advanced your face moisturiser is, it cannot work effectively on skin that is poorly cleansed or stripped. This is why starting your routine with a gentle green cleanser is a smart choice. A quality green cleanser, typically formulated with botanical ingredients such as green tea, spinach or kale extracts and soothing aloe vera, lifts away dirt, excess sebum and pollutants without stripping your skin’s natural oils.
When choosing a green cleanser, look for formulas free from harsh sulphates, artificial fragrances and drying alcohols that can compromise the skin’s moisture barrier. A gentle, pH-balanced cleanser leaves your face feeling clean, supple and refreshed rather than tight or irritated.
Final Thoughts
Choosing the right face moisturiser starts with understanding your skin type, but the steps before it matter just as much. By prioritising gentle cleansing, soothing serums, regular facial massage and the safe use of at-home devices, you create the ideal canvas for your final moisturiser. When it is chosen for your unique skin type, a moisturiser seals in those benefits and keeps your skin soft, smooth, resilient and well hydrated through every season.