
Are you tired of a plain backyard that feels too small for a full pool? Many people feel the same way. Plunge pools are a smart choice and use about 60% less water than regular swimming pools.
This post will guide you step-by-step to turn any yard into your own oasis with clever designs and features. You can make outdoor living fun, budget-friendly, and perfect for relaxing or getting some exercise.
Keep reading to see how simple it can be to start your own project!
Key takeaways
- Plunge pools use about 60% less water than regular pools and fit well in small backyards.
- Checking for utility lines and zoning laws is important before starting a pool project.
- Pools can be ground-level, in-deck, or above-ground, with costs for premade ones starting at $24,500.
- Choosing energy-efficient materials like concrete saves money on bills. Adding features like jets or LED lights makes the pool fun and attractive.
- Keeping a plunge pool clean involves testing the water weekly and using a cover to protect it. Safety measures include installing fences and non-slip decking.
Assessing your backyard space
I always start by measuring my yard and checking the sun patterns—space planning comes first in any good swimming pool design. I think about privacy, shade from trees, and how it will fit with my outdoor living plans for a true backyard oasis.
Evaluating site suitability and personal needs
Backyards in urban spaces often have tight areas, so I check if there is at least 8 by 12 feet free for a compact plunge pool. The best water depth is between 5 and 6 feet; this keeps most people shoulder-deep for safe swimming or exercise.
If I want fitness like water aerobics, or just relaxation, I plan my design with that purpose. Soake Pools and Plunge Crafters work well for small yards, combining luxury and comfort.
I choose shaded spots to avoid the Texas sun’s heat, but in hot places, installing heat pumps helps keep water cool. In San Diego designs, builders place plunge pools between planter boxes and paved patios to use every inch of space.
Location matters even more when utilities or zoning rules affect where a pool can go. If I list my needs—like laps for fitness or jets for massage—it shapes the features I pick from the start.
Checking for utilities and zoning compliance
I check for utility lines before any excavation. I look for water, gas, and electric cables in my backyard space since hitting even one can stop the plunge pool installation cold. Local rules need attention too; zoning laws say how close pools or aboveground pools can sit near property lines or buildings.
My city’s building office tells me what setback distances to follow. Soake Pools come pre-built, which is good since their quick setup cuts down risk around existing utilities.
For easier installation without much digging near pipes, I consider stock tank pools or aboveground swimming pools as well. Taking these steps keeps my project safe and legal from day one—no delays, no extra fines, just a smooth build that meets every rule set by local inspectors.
Choosing the right plunge pool design
Plunge pools come in many styles, so I focus on the shape and look that fit my space. My choice sets the mood for outdoor living—making it perfect for relaxing or hosting friends.
Ground-level plunge pools
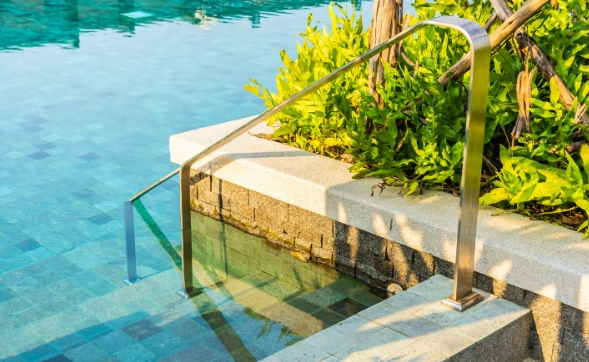
Ground-level plunge pools blend into lawns, patios, or gardens to create a clean look. I see this style used in places like Santa Cruz, CA, where the pool cools people off and acts as a water feature for outdoor living spaces.
Shaker Heights, OH offers an example of ground-level concrete with built-in lounge seating; this adds comfort and more space for friends. Oceanside, CA displays custom tile work mixed with tropical plants around the edge for eye-catching aesthetics.
Hardscaping matters too. In Altadena, CA, natural stone surrounds tiled water to tie together landscaping and pool decor. Charlotte’s backyard uses dining spots close by so that people can eat or relax between swims; this setup works well for entertainment.
I pick features such as underwater lighting or simple benches to customise each spot to fit my needs best.
Next up are options that sit within deck structures—these have their own perks worth exploring.
In-deck plunge pools
In-deck plunge pools sit inside a deck, not above or beside it. I saw a great setup in San Diego, CA. The pool fit between planter boxes and a paved dining area. This placement made the most of every inch and blended with other backyard features.
I like how decks can hide plumbing or lighting for sleek pool design. The Denver project by Ivy Street Design used a Soake Pool with dark charcoal tile next to bright stonework for modern style.
Using potted plants and turf near cocktail pools lets me turn even small spaces into cosy outdoor spots that do more than just look good—they work well too.
Above-ground plunge pools
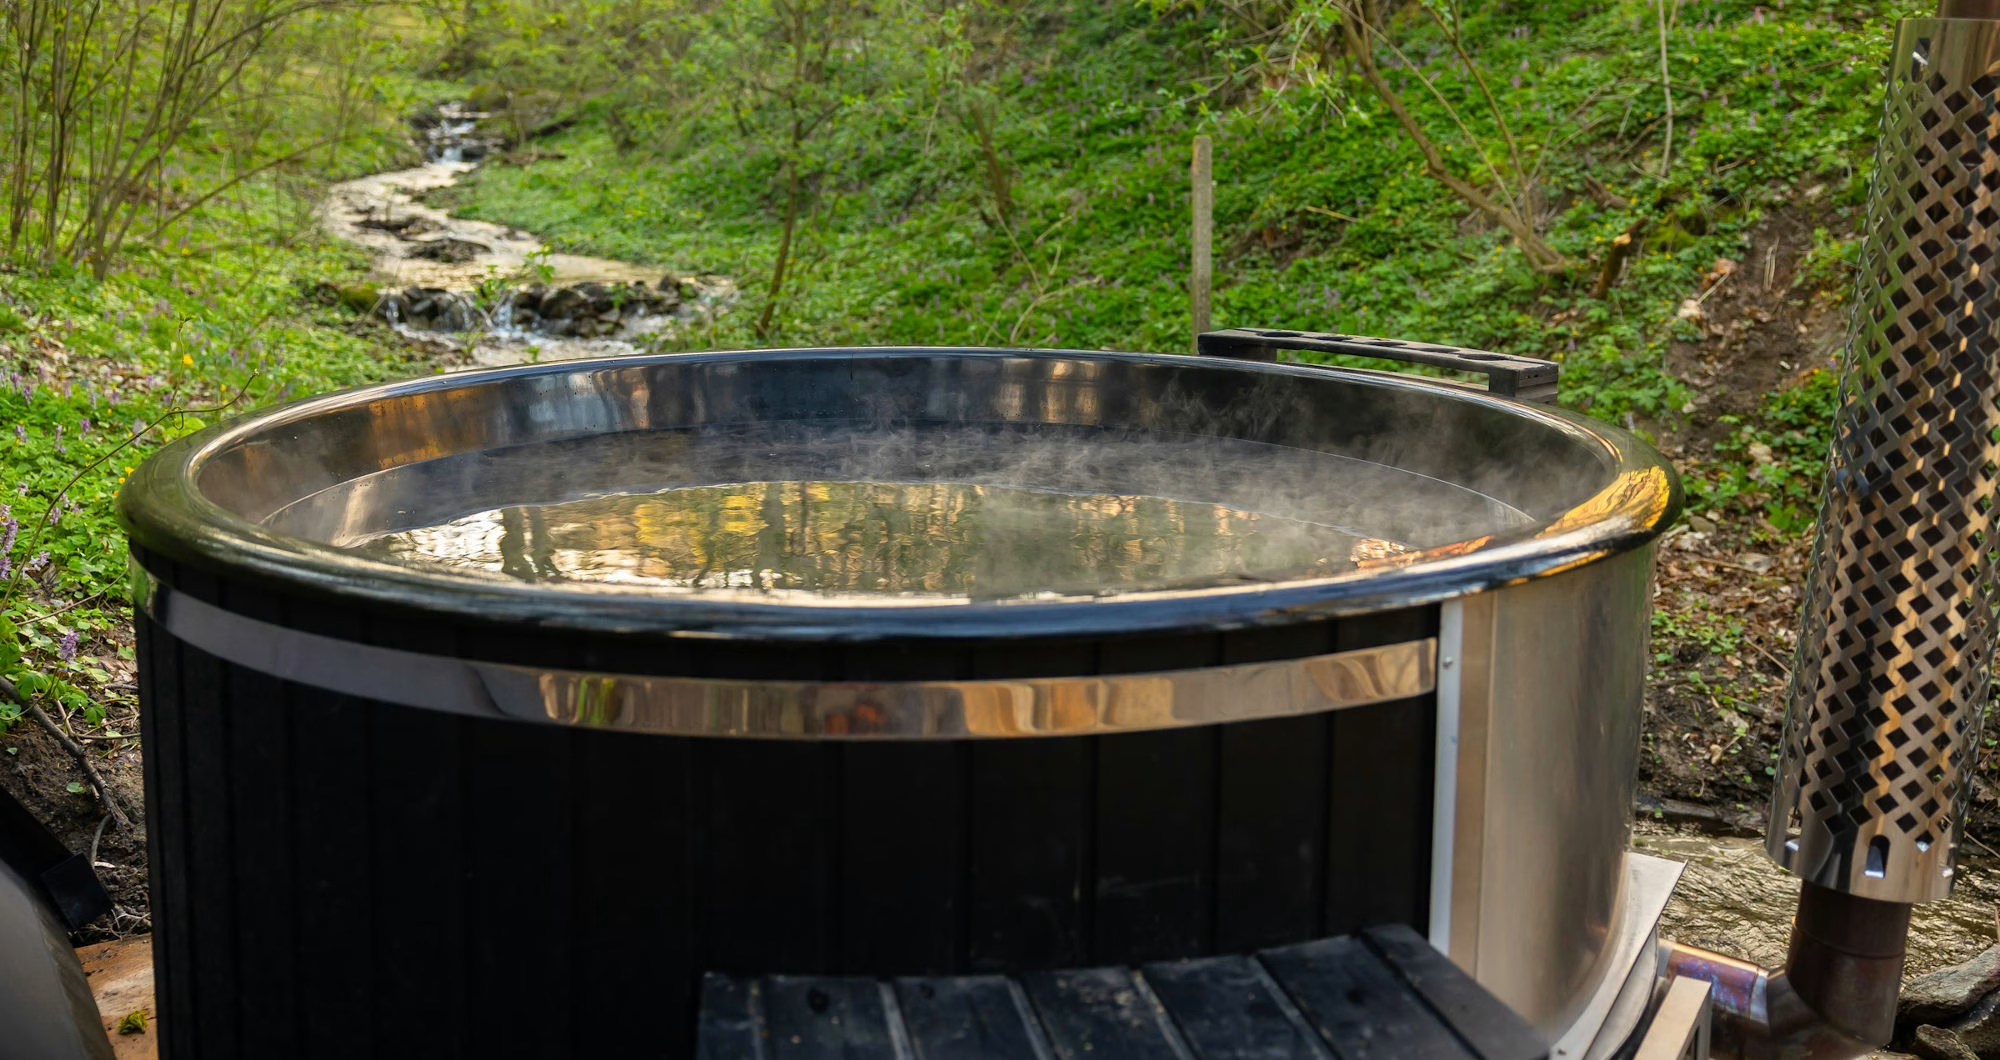
Above-ground plunge pools fit almost any yard. Soake Pool’s precast, above-ground concrete plunge pools start at $24,500. These meet NPCA certification for strong quality. I see cedar hot tubs in Katy, TX on wooden decks that feel like a spa and offer space to sit around the water.
Stock tank pools come from Tractor Supply Company or hardware stores; H20 Tank Avenue offers more choices online.
Stock tank pools always need filtration systems to keep water clean. DIY fans often use Ashley Petrone’s method for this step at home with simple parts and pumps you can buy yourself.
Aboveground styles let me skip digging while giving fast setup options compared to in-ground models.
Material choices make a difference, so it helps to know my priorities next—energy savings, looks, or extra features like lights and jets?
Selecting materials and features
I focus on smart pool materials and simple extras to keep things easy and make the water area shine. I use strong concrete, safe LED lights, and fun options like water sprays or bubbling jets for an attractive backyard oasis.
Energy-efficient materials
Precast concrete, like the kind Soake Pools uses, gives strong thermal insulation and lasts for years. Each pool comes from an NPCA-certified plant in New Hampshire, so I get strict quality control every time.
Fibreglass pools save on installation costs and go in fast, while vinyl options work well if I want a lower upfront expense. Galvanised steel stock tank pools cost less to set up and use little energy day-to-day.
I select sustainable materials to help cut utility bills and boost durability. Thermal insulation keeps water warm longer, which lowers heater run times by up to 30 per cent over basic pool types.
Prefabrication at certified plants means tight construction standards that trim waste during installation. Eco-friendly choices like these add value without draining resources or my wallet.
Waterfalls, jets, and lighting options
I love adding cool features to plunge pools. Here’s how waterfalls, jets, and lighting can make your pool amazing.
Waterfalls in a Massachusetts Soake Pool look stunning. They turn the pool into a visual centrepiece. You can have this too. Adding a waterfall makes the pool area feel more natural and relaxing.
LED lights change colours and save energy. They light up your pool at night. This makes swimming fun after dark. Plus, it looks beautiful.
Saltwater filtration systems keep the pool clean with less work. Some 5-foot-deep concrete plunge pools use this. It means you spend more time enjoying and less on upkeep.
Jets and built-in seating offer hydrotherapy benefits. You get to relax and soothe your muscles right in your backyard.
Next up, let’s talk about choosing materials that last long and look great.
Maintenance and safety tips
I keep my plunge pool safe by installing a sturdy fence and using a lockable cover—these steps help protect kids and pets. For upkeep, I test the water with simple pool test kits and clean debris with a skimmer to keep the outdoor living space fresh for everyone.
Ensuring proper upkeep
Keeping my plunge pool in top shape takes some work. I focus on a few key areas to make sure it stays clean, safe, and fun for everyone. Here’s how I do it:
- Check water quality weekly. I test pH levels and chlorine to keep the water safe for swimming.
- Use energy-efficient materials like Ashley Petrone recommends for filtration. It keeps the water clear without much cost.
- Clean the pool’s sides and bottom regularly. This stops algae from growing.
- Inspect all parts often, especially jets, lighting, and heaters. This helps catch problems early.
- Balance chemicals carefully after testing the water. Saltwater systems are great since they cut down on chemical use.
- Make sure to empty skimmer baskets and change filters as needed to keep everything running smoothly.
- Add a cover when not in use; it keeps out debris and saves cleaning time.
- Keep safety equipment near and check it now and then to ensure it’s in good condition.
Sticking to these steps has made maintaining my plunge pool much easier than I thought it would be.
Implementing safety measures
I care about safety in my backyard, especially with a plunge pool. It’s crucial to prevent accidents and keep everyone secure. Here’s how I make it happen:
- I always check local codes before installing my pool. This ensures I follow the rules for safety barriers and fencing.
- Making sure the fence around my pool is at least 4 feet high helps keep kids safe.
- I add self-closing gates to the fence, so they never stay open by accident.
- Non-slip materials for decking are a must. They reduce the risk of falls when people walk around the pool.
- A safety cover is essential when the pool is not in use. It prevents accidents.
- Keeping water depth in mind, my plunge pool is between 5-6 feet deep for safe entry and use.
- I place softscaping and planters around to enhance privacy and act as additional barriers.
- Accident prevention means having a clear set of rules for everyone using the pool, like no running nearby.
- Regular maintenance checks help me spot any potential hazards early.
These steps lead to a safer plunge pool area in my backyard.
Conclusion
Designing the ultimate backyard plunge pool turns any yard into a relaxation space for my family and friends. I choose from ground-level, in-deck, or above-ground options to fit my outdoor living needs.
Picking energy-efficient materials helps save money on bills and upkeep. Adding water features like jets or lights brings style and fun. Clear planning makes sure I create a spot perfect for both fitness and unwinding—right at home.
Feature Photo by Lukas Kubica on Unsplash