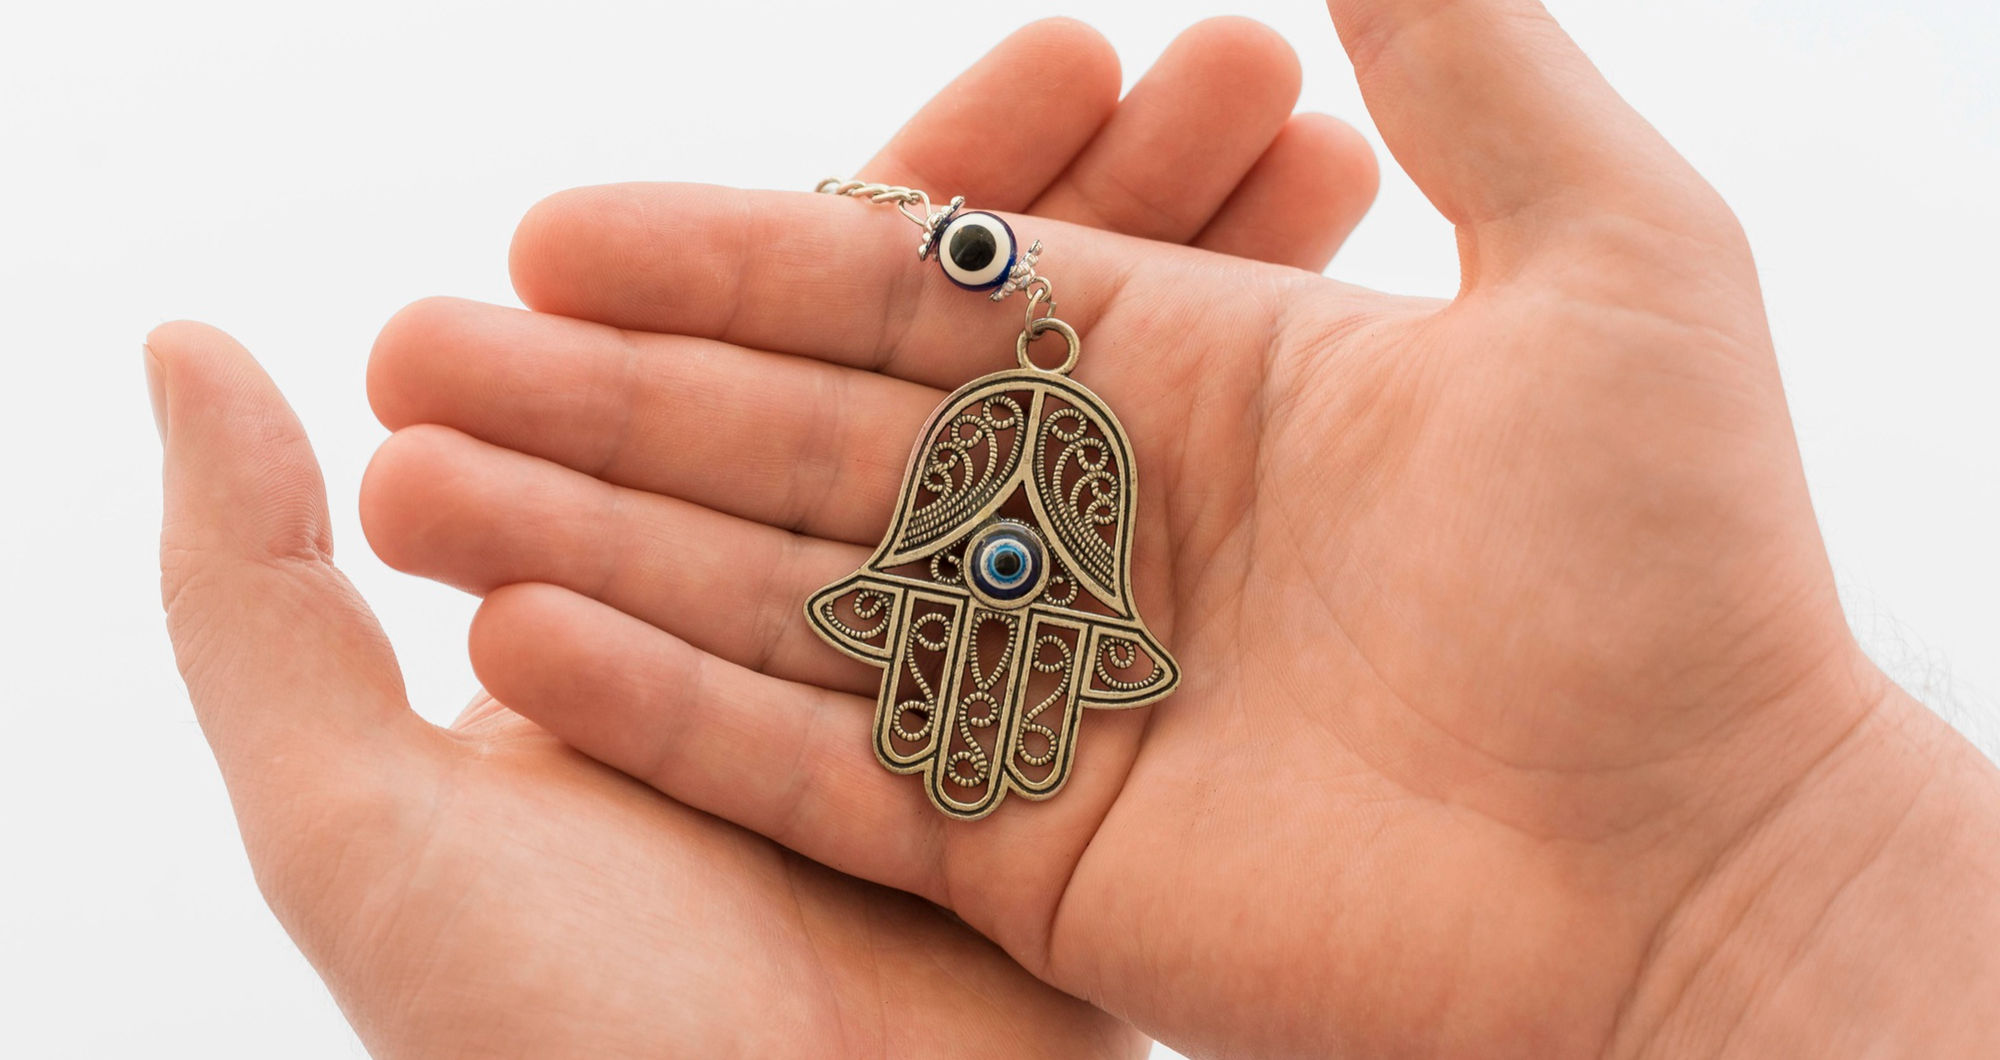

Laser-cut jewellery has exploded in popularity—and for good reason. Makers love it for its precision, small business owners love it for its profit margins, and customers love the clean, modern aesthetic. With the right tools and a splash of creativity, you can turn simple sketches into beautiful, personalised earrings, pendants, and accessories. Whether you’re crafting for fun or dreaming up your next side hustle, laser-cut jewellery is one of the easiest—and most rewarding—projects to dive into.
Brainstorming & Concept Development
Every great jewellery piece starts with inspiration. Think about the styles you love: nature-inspired leaves and flowers, bold geometric shapes, minimalist silhouettes, or even customised name pendants. You don’t need to be an illustrator—simple sketches go a long way.
Take some time to explore trends on Etsy, Instagram, or Pinterest. Look for colour palettes, themes, and shapes that resonate with your audience. If you’re selling, pay attention to what consistently gets likes or sales. And as you brainstorm, keep materials and laser capabilities in mind. Certain shapes or details work better in specific materials, so planning ahead makes the whole process smoother.
Choosing the Right Materials
One of the biggest perks of laser cutting is the wide range of materials you can use. For jewellery, the most popular options include:
Wood: Lightweight, easy to cut, and perfect for engraving. Birch, walnut, and maple are fan favourites.
Acrylic: Great for bold, colourful designs and statement earrings. It delivers crisp edges and comes in endless finishes.
Leather: Ideal for boho-style earrings or bracelets with a soft, organic look.
Metal blanks (fibre laser required): For those ready to take their jewellery to a more premium level.
Choose materials that are sturdy, lightweight, and comfortable to wear. Wood and acrylic are especially loved by DIY jewellery makers because they’re affordable and easy to work with.
Turning Your Concept into Digital Designs
Once your ideas are set, it’s time to bring them into a digital format. Laser cutters rely on vector files—clean, scalable outlines that tell the laser exactly where to cut.
Popular software options include LightBurn, Adobe Illustrator, CorelDRAW, and the free favourite, Inkscape. Stick with vector file types like SVG, AI, or DXF. Make sure your cut lines are hairline thin, your engrave areas are filled properly, and your shapes are closed paths. And don’t forget kerf—that tiny bit of material burned away by the laser. For earrings and pendants, it’s small but still worth noting if you’re making intricate interlocking pieces.
New designers often trip up by adding too much detail. Remember: the laser can do a lot, but extremely tiny cuts can weaken your material or break during finishing.
Preparing Your Laser Engraver
With your design ready, it’s time to prep your laser engraver. A small to mid-size laser engraver is ideal for jewellery making. Models from OMTech are especially popular among makers thanks to their reliable cutting precision and user-friendly setup.
Before every project:
- Ensure proper ventilation
- Check your focus and material alignment
- Run a quick test cut for speed and power
- Clean your mirrors and lenses for the sharpest results
A few minutes of prep work can make the difference between a crisp cut and a charred edge.
Laser Cutting Your Designs
Now the fun part—the actual cutting. Each material responds a bit differently, so expect some trial and error:
- Wood may need slightly lower speeds to prevent scorching. Masking tape can help reduce burn marks.
- Acrylic cuts beautifully at higher speeds and lower power, leaving a smooth, clean edge.
- Leather benefits from ventilation and lower power to avoid over-darkening.
Always start with test passes and adjust your speed/power settings accordingly. If your piece includes both engraving and cutting, engrave first—this keeps delicate shapes from shifting.
Finishing Your Jewellery Pieces
Laser cutting gets you most of the way there, but the finishing touches really make your pieces shine.
For wood: Light sanding removes smoke marks, while stain, paint, or sealant can elevate the look.
For acrylic: A quick polish or flame-polish adds smoothness and clarity.
For leather: Clean edges with trimming tools, then condition if needed.
Finally, attach your hardware—jump rings, earring hooks, or necklace chains. Keep pliers, sanding sponges, and polishing cloths handy to streamline your workflow.
Photographing & Presenting Your Jewellery
If you’re selling your creations, presentation is half the game. Good photos help your work shine:
- Use natural light or a simple ring light
- Keep backgrounds neutral to let the jewellery stand out
- Show scale by including a hand or ear model
- Take both styled and close-up shots
Packaging also adds a professional touch. Branded cards, small boxes, or kraft pouches can elevate even a simple pair of earrings.
Common Mistakes to Avoid
As you create more pieces, you’ll quickly learn what to avoid:
Many beginners design pieces that are too intricate to cut cleanly. Tiny cutouts can snap during finishing or wear. Forgetting to mirror earring pairs is another classic slip-up. And skipping test cuts can lead to wasted material, especially with new acrylics or speciality woods. Stick with high-quality materials and always check the kerf if you’re designing layered or interlocking components.
Scaling Your Jewellery-Making Side Business
Once you’ve made a few pieces you’re proud of, scaling becomes easier. Consider building themed collections to create a cohesive shop look. As your sales grow, you may want to explore more advanced LightBurn features like variable text, pattern fills, or repeat arrays.
If you’re ready to increase your production volume, a larger or more powerful laser (like OMTech’s mid-range CO₂ machines) can help you cut faster and expand your material options. Keep track of your best-selling designs—they’ll guide your future creative direction.
Conclusion: Your Creativity, Laser-Powered
Designing laser-cut jewellery is a beautiful blend of imagination and engineering. With the right materials, a solid laser engraver, and a little practice, you can turn your ideas into wearable art. Whether you’re crafting for fun, creating custom gifts, or launching your own handmade business, laser-cut jewellery opens the door to endless creativity. Start small, experiment often, and let your laser bring your designs to life.