
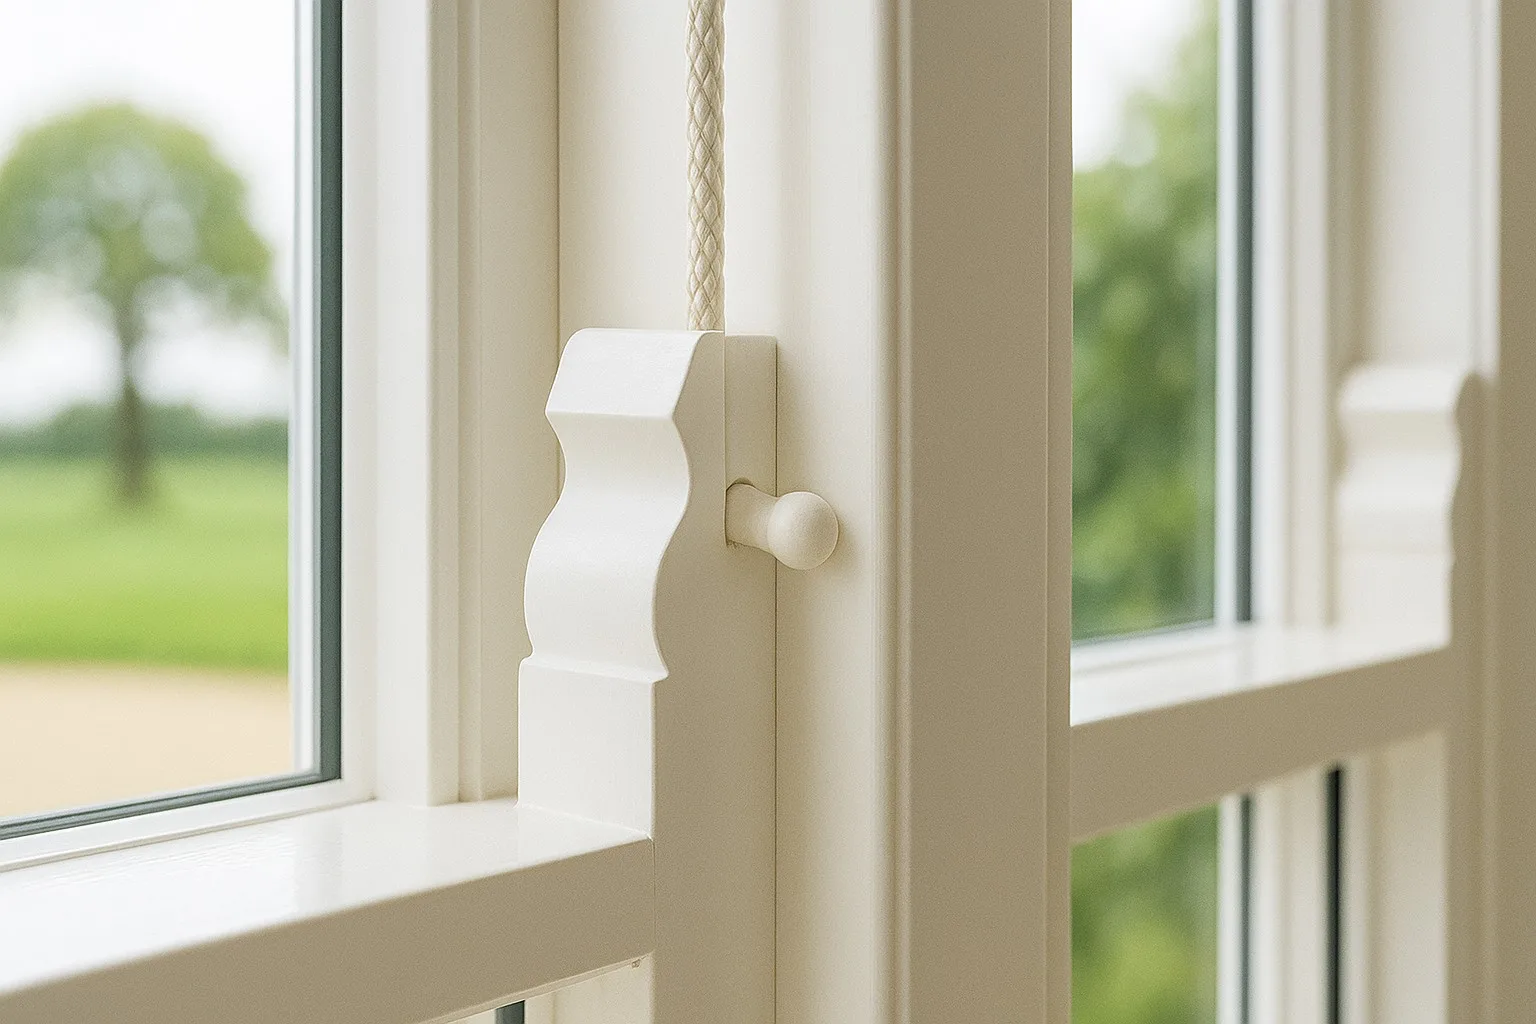

Few things sap the comfort from a room faster than a chilly breeze sneaking through a sliding sash. Whether you’re curled up with a cuppa or settling down for the evening, draughts make you reach straight for the thermostat and send energy bills soaring. Tackling those gaps isn’t just about cosiness — it’s a smart way to reduce waste and protect your wallet. In the following guide, you’ll learn how to pinpoint every leak and apply simple, effective solutions to keep warmth exactly where it belongs.
Assess and Identify Draught Sources
Before you reach for sealant, it pays to get a clear picture of where chilly air is sneaking in. On a windy day, stand inside and run your hand slowly around the frame and glass edges. You might feel faint breezes that hint at gaps or cracks. A simple candle test also works wonders: move a lit candle along the seals and watch for flickers in the flame— which will reveal exactly where your sash window is letting heat out. If you have access to a thermal camera app, you’ll spot cold spots in seconds. Focus on joints where the frame meets the wall and around the meeting rails of the sliding panes to map every potential leak.
Materials and Tools for Eliminating Draughts
Here are the essentials you’ll need for a professional-quality seal:
- Seal profiles and brush strips for sash window draft excluder
- Weatherproof adhesive tapes with strong adhesion
- Quality silicone or acrylic sealants designed for window joints
- Basic hand tools for removing and fitting glazing beads
For detailed guidance and supply options, visit on this site.
Preparing the Window in Advance
A clean surface ensures every seal sticks and every filling stays put. Start by wiping down the frame, grooves and glazing beads with a mild detergent to remove dust and old sealant residue. If you spot small cracks or chips in the timber or uPVC, fill them with a flexible filler recommended for windows. In some cases you may need to remove the glazing beads — those slim strips that hold the glass — to gain full access. Take care not to bend or snap them; a slim putty knife usually does the trick. Once cleaned and repaired, let everything dry thoroughly before pressing on.
Sealing Moving Parts
Sliding sections often bear the brunt of wear, so they are prime suspects for draughts. First, inspect the meeting rails and look for gaps when one pane overlaps the other. Select a sash window draft excluder that matches the profile of your window — whether it’s a brush strip or a bulb seal. Press or screw these into place so the brushes or rubber lips gently brush against the opposite sash. That snug contact stops wind in its tracks without impairing smooth sliding. Check the operation afterwards: your window should still move freely, but you’ll feel how the seal brushes close behind each sash.
Sealing Fixed Parts
Fixing draughts around immovable sections demands a different approach. Start at the frame perimeter where it meets the wall. A bead of high-quality silicone sealant run right into the external crease will block wind from sneaking between frame and plaster. For inside reveals and window returns, fill any visible gaps with a paintable acrylic sealant. Smooth the bead with a damp finger or sealant tool so it follows the shape of the frame without leaving ridges. Combined, these treatments create a continuous barrier that cuts off any lingering cold spots.
Addressing Hardware and Fixings
Locks, catches and hinges can create tiny gaps even when fully closed. Begin by adjusting all ironmongery to ensure each latch pulls the sash firmly into the frame. Tightening screws and greasing moving parts will not only stop squeaks but improve the seal. If any fixings appear bent or worn out, replace them with identical-rated components. Finally, apply a small dab of silicone around each screw head and around the catch plates to block micro-draughts. The end result should be a solid frame where every piece of hardware sits flush against the window.
Final Checks and Testing
With all seals and sealants cured, it’s time for a last inspection. Gently clean away any debris or excess sealant and let the window rest for a few hours. Then repeat your candle test or thermal scan to confirm success. Look specifically for areas you treated and see that there’s no more flicker or heat drain. This step truly crowns your efforts in draft proofing sash windows, giving you the confidence that each gap is fully addressed.
Care and Maintenance After Draught Proofing
A well-sealed window will serve you for years, but only if you care for it. Every six months, give the seals a quick wipe with a damp cloth to remove dust build-up. Operate each sash gently to keep brushes and rubber profiles free of debris. Inspect sealant beads annually; if you spot any shrinkage or cracks, peel out the damaged section and reapply fresh sealant. By following these simple steps, you’ll preserve the benefits of your sash window draft proofing and keep indoor temperatures comfortable all year round.