
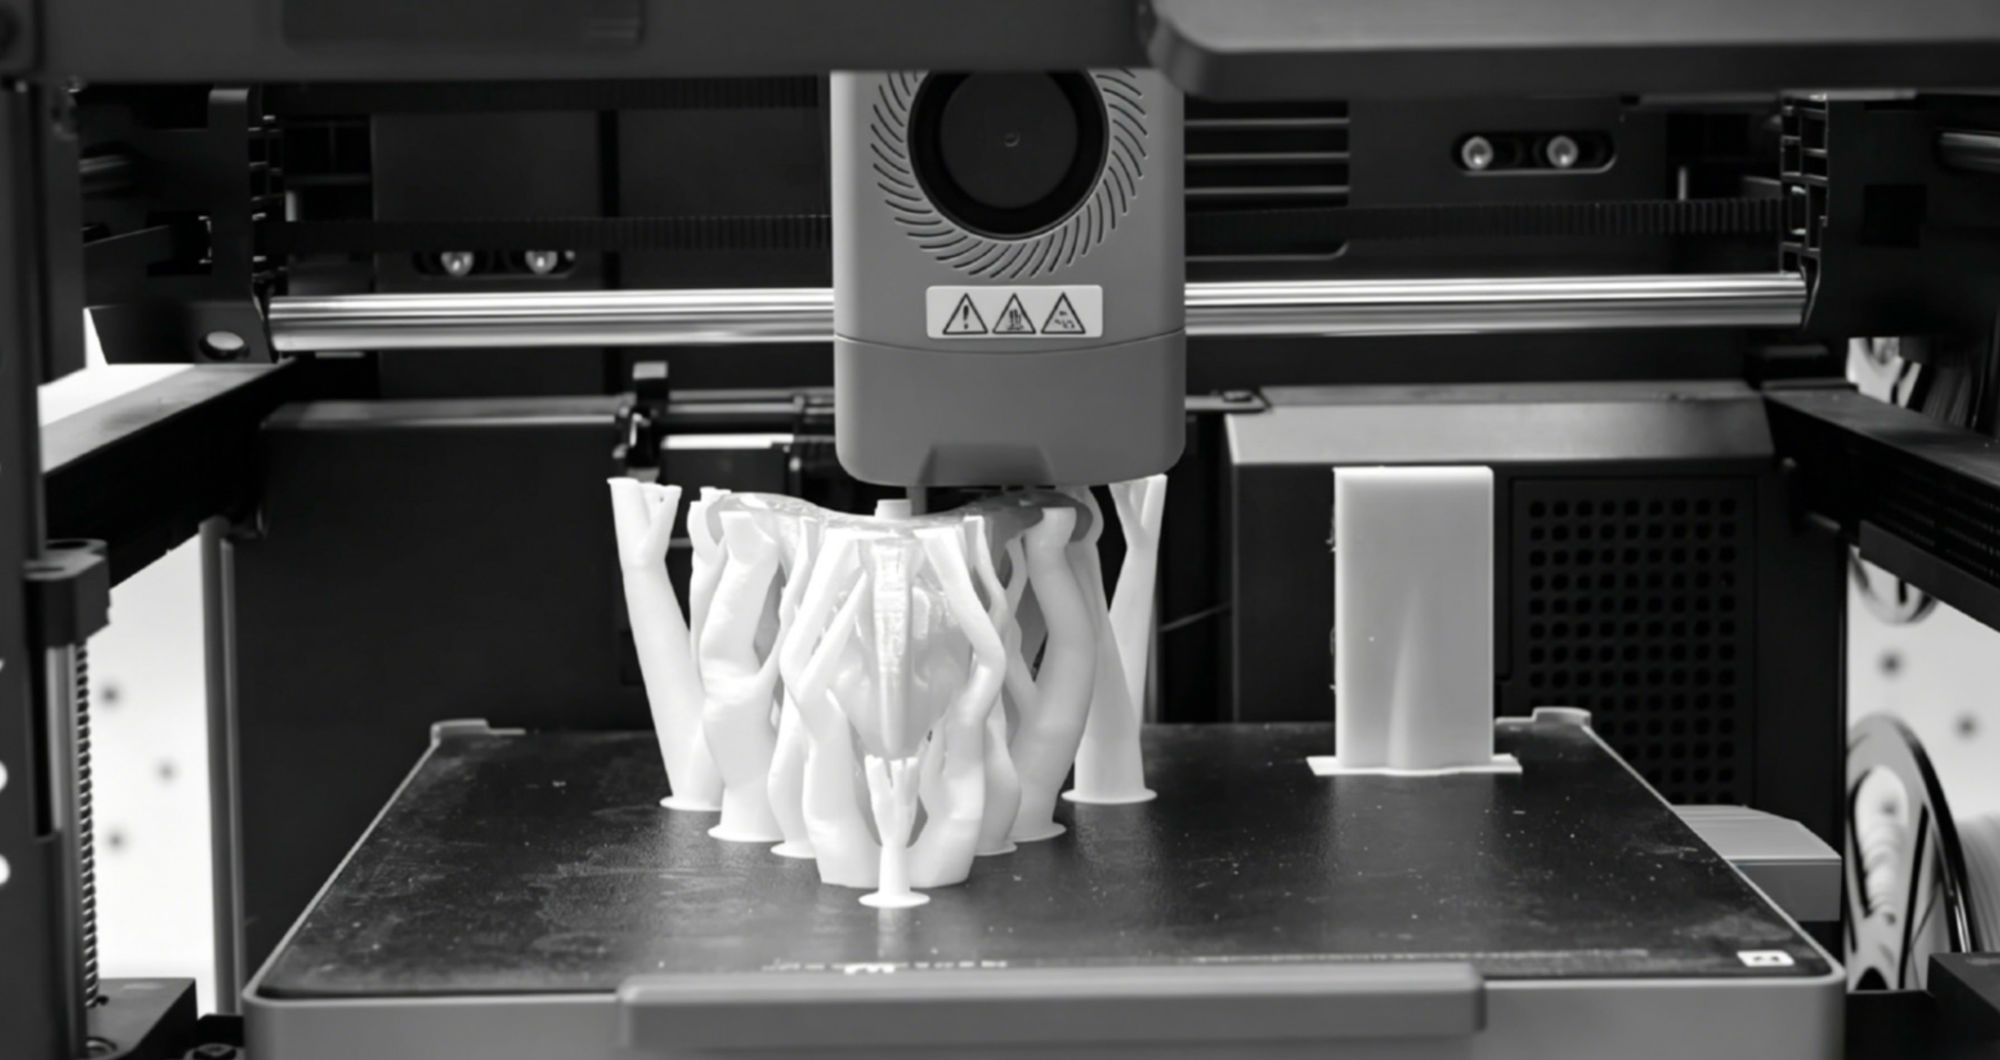

In the past, you might have spent weeks designing a part only to wait months for shipping. When it finally arrived, the dimensions didn’t even match. Anyone who builds physical products knows this pain. FDM 3D printing changes that, making it possible to design today and have the part in your hand tomorrow. This guide will help you understand how FDM works, how to choose the right filaments, and whether it fits your specific needs.
How FDM Works: From Extruder to Nozzle
The core driving unit of FDM printing is the extruder. Modern machines generally use one of two setups: Direct Drive or Bowden. These systems differ fundamentally in retraction control and compatibility with flexible materials.
- Direct Drive Extruder: The motor is integrated with the hotend. This allows for a short retraction distance (usually 0.5–2 mm) and provides precise control over elastic materials like TPU. However, the added weight on the print head can limit high-speed movement.
- Bowden Extruder: The motor is mounted to the frame, making the print head lightweight and ideal for high-speed printing. However, it requires a longer retraction distance (4–7 mm), which increases the risk of stringing.
Filament travels from the extruder into the hotend, passes through the heat break (the thermal insulation zone), reaches the target temperature at the nozzle, and is then extruded and deposited onto the build plate.
The Physics Behind Layer-by-Layer Deposition
FDM printing is essentially the thermal fusion of thermoplastic materials between layers. Each newly extruded layer of molten filament must achieve sufficient thermal diffusion and molecular chain entanglement with the cooled surface below it to form an effective inter-layer bond.
This explains why the following three parameters are so critical:
Nozzle Temperature
Higher temperatures improve the flow of molten material and lead to better fusion between layers. However, excessive heat can cause oozing and a loss of fine detail.
Print Speed
If the speed is too high, the material does not have enough time for thermal diffusion between layers, which reduces the overall strength of the part.
Cooling Fan Strategy
Cooling that is too aggressive prevents proper layer fusion, which is particularly damaging for materials like ABS. Conversely, insufficient cooling leads to drooping on overhangs and increased stringing.
Understanding the dynamic balance between these three factors is the fundamental way to resolve most printing defects.
Deep Comparison of Mainstream FDM Filaments
Processing windows vary significantly across different materials. Choosing the wrong filament is one of the leading causes of print failure. Here is a cross-comparison of the most common filaments used in engineering practice:
| Material | Nozzle Temp | Bed Temp | Shrinkage Rate | Typical Applications |
| PLA | 190–220°C | 0–60°C | Extremely Low | Prototyping, display models |
| PETG | 230–250°C | 70–85°C | Low | Functional parts, food-contact items |
| ABS | 230–260°C | 100–110°C | High | Industrial enclosures, heat-resistant parts |
| ASA | 240–260°C | 90–110°C | Medium-High | Outdoor, UV-resistant scenarios |
| TPU | 220–240°C | 30–60°C | Extremely Low | Seals, flexible jigs |
Three Core Principles for Material Selection
- Mechanical Requirements First: For structural parts under load, prioritise PETG or ASA. Avoid PLA, as its glass transition temperature is only around 60°C, making it prone to softening and deforming in warm, enclosed environments.
- Environmental Factors Second: For outdoor or UV-exposed scenarios, ASA is far superior to ABS. ABS will become brittle and yellow under UV exposure.
- Account for Process Difficulty: If your printing environment cannot maintain a constant temperature in a sealed chamber, choose PETG over ABS to reduce the risk of warping.
How Does FDM Compare to Other 3D Printing Technologies?
To make the best decision, you must understand the limits of fdm 3d printing. Compared to SLA (Stereolithography) and SLS (Selective Laser Sintering), FDM has several unique engineering attributes.
Core Advantages of FDM 3D Printing
- Lowest Material Costs: 1kg of PLA filament typically costs between $15 and $30. This is much cheaper than photopolymer resins or nylon powders.
- Widest Material Variety: FDM offers the most diverse ecosystem, ranging from basic thermoplastics to carbon fibre composites and metal-filled filaments.
- Maintenance-Friendly: Wear parts like nozzles and heat beds are inexpensive to replace. This keeps overall operational costs predictable.
Inherent Limitations of FDM 3D Printing
- Significant Anisotropy: Strength along the Z-axis (layer stacking direction) is usually only 50% to 70% of the strength in the XY plane. You must consider the direction of force when planning your print orientation.
- Limited Surface Precision: Standard layer heights of 0.1 to 0.3mm mean surface quality cannot compete with SLA. Post-processing like sanding or painting is often standard procedure.
- Reliance on Supports: Overhanging areas exceeding 45° usually require support structures, which increases post-processing labour.
Decision Framework for FDM Use Cases
FDM is the optimal solution for technology and cost in the following scenarios:
- Rapid Prototyping: Moving from CAD to a physical object can happen in just a few hours, allowing for multiple rounds of design validation.
- Low-Volume Functional Parts: Jigs, fixtures, and customised structural components made from PETG or ABS meet most industrial requirements.
- Education and Maker Spaces: Low equipment and material costs, combined with high visual transparency of the process, make it ideal for teaching and creative projects.
- Personalised Custom Products: Consumer electronics housings, custom merchandise, and specialised components for medical assistive devices.
If you are evaluating equipment, various Flashforge filament 3d printer models strike a good balance between high-speed printing and precision. When choosing, focus on the maximum print speed, the maximum hot-end temperature for material compatibility, and the presence of auto-levelling. These three metrics define the actual performance ceiling of the machine.
Conclusion: Mastering the Mechanics is the Key to FDM
The next time you need to quickly validate a part, replace a hard-to-find component, or bring a long-held idea to life, you don’t have to wait. An FDM printer is the bridge that turns a simple “I just want to try this” into a physical reality, and you now have the framework to use it effectively.
We hope this guide provides a practical technical foundation for your FDM projects. If you are currently choosing a machine, I recommend evaluating hardware specs and ecosystem support based on your specific material needs and use cases.