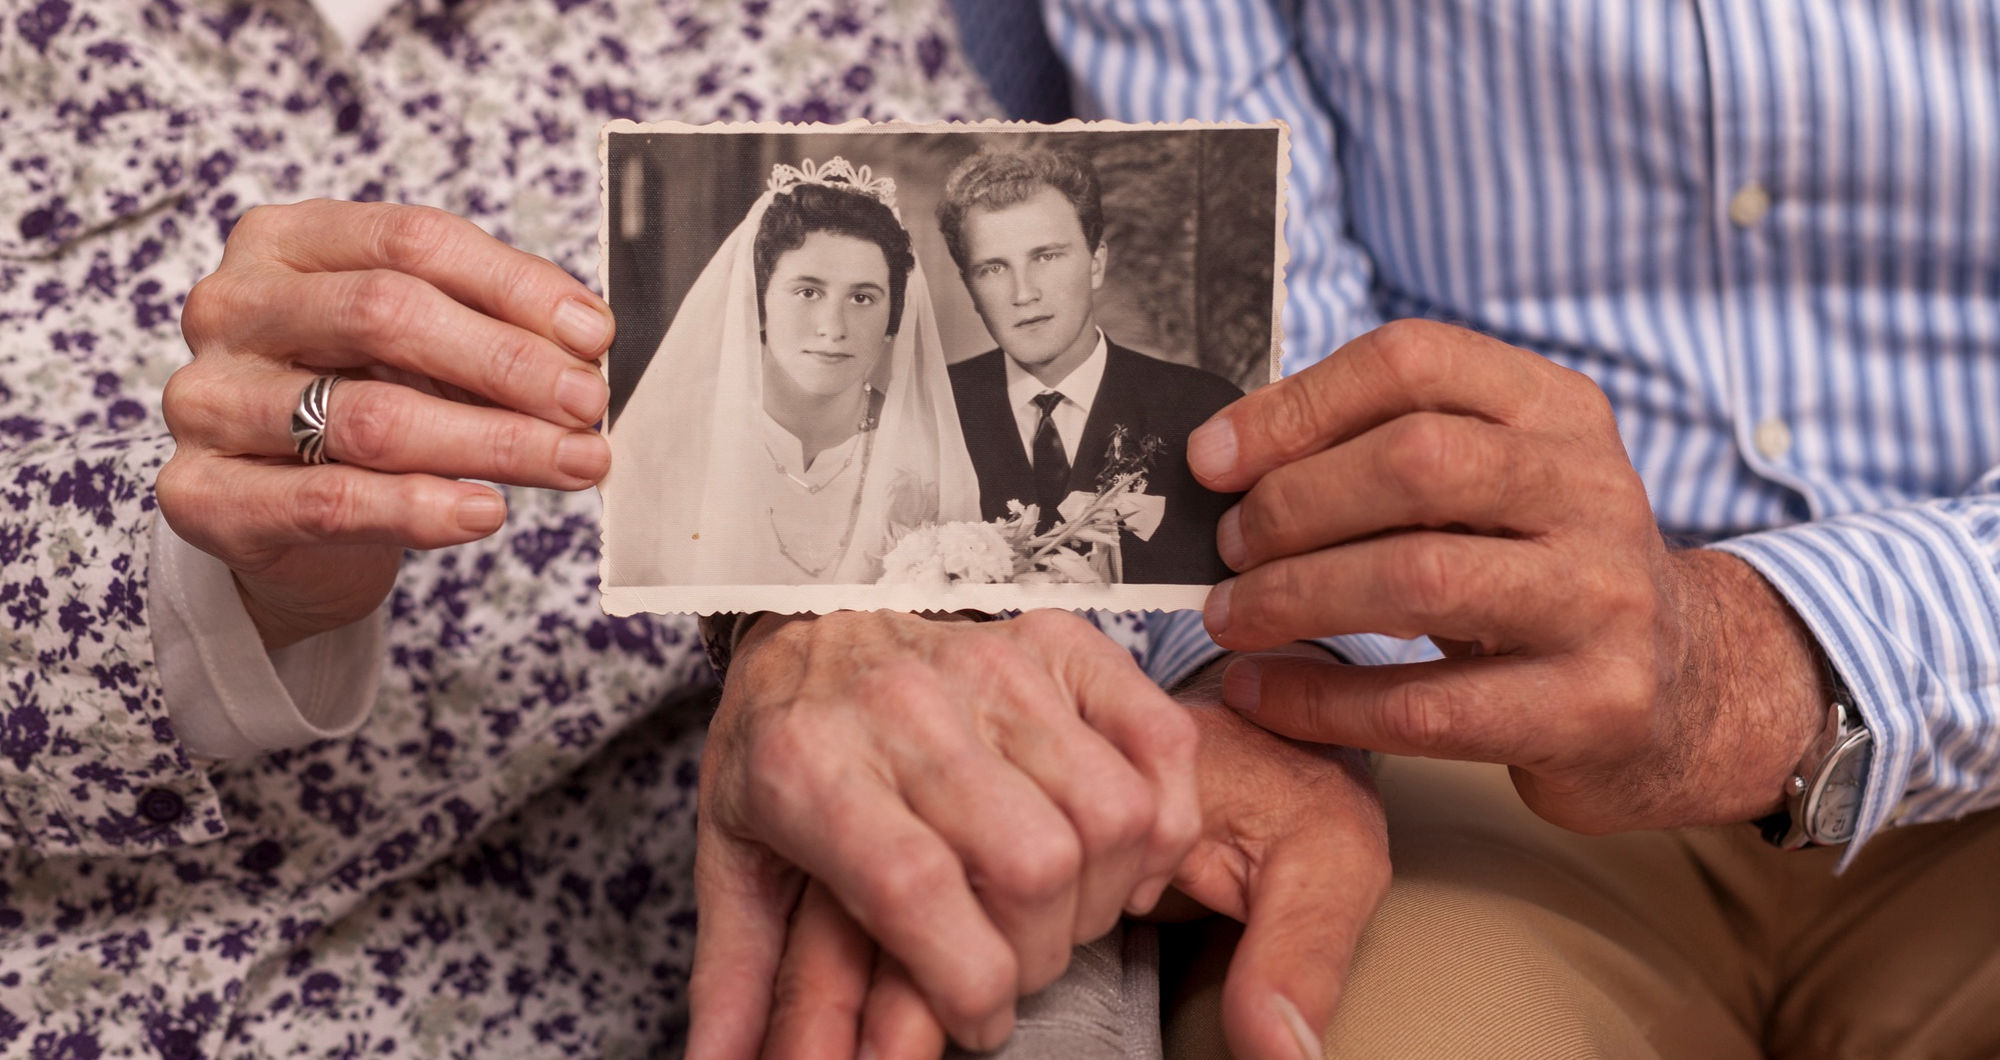

My grandmother died in the spring of 2024. A few months later, my mom and I sat down on the floor of my grandmother’s apartment with three shoeboxes of photographs between us. Black and white prints from the 1940s. Faded colour shots from the 60s and 70s. Polaroids from family gatherings I had never been told about. Loose photos, photos in envelopes, and photos stuck to other photos because someone had stored them poorly in a damp attic for thirty years.
It is hard to describe what going through a box like that feels like. Every photo is a small archaeology. You recognise a young version of your mother, a wedding you have only heard stories about, a great-aunt you never met but who apparently always wore the same hat. The photos are precious and also mostly falling apart.
That afternoon I made my mom a quiet promise. I told her I would restore as many of those photos as I could, frame the best ones, and give them back to her in a form she could actually display.
What Time Actually Does to Photographs
I did not understand, before that project, how brutally photographs age. A black and white print from 1948 in a shoebox is not just yellowed. It is creased, scratched, stained where someone touched it with a wet hand, faded in patches where it got too much sun, and missing corners where it stuck to the photo next to it. Colour prints from the 60s and 70s are arguably worse. The dyes used in mid-century colour photography were unstable, and after fifty years, what was once a vibrant photo is often a sad orange-pink wash with the original colors barely detectable underneath.
Polaroids age in their own awful way. The chemicals continue reacting under the surface for decades. A Polaroid from 1976 looks like a Polaroid from 1976 plus a lot of regret.
So the photos I wanted to give back to my mom were not just sentimental objects. They were also damaged objects, in ways that no amount of careful scanning would fix. Scanning a faded, torn, water-stained photo just gets you a high-resolution version of a faded, torn, water-stained photo.
The Old Restoration Options
Before I started looking at AI tools, I priced out the traditional options.
Professional photo restoration services exist and produce beautiful work. They are also expensive. A single restored print runs anywhere from forty to two hundred dollars, depending on damage level, and turnaround is often weeks. For a box of fifty photos worth keeping, the total cost would have been in the thousands and the timeline in months. That was not realistic for me.
The DIY option was Photoshop. I have used Photoshop for years, and I am not bad at it. But manual photo restoration in Photoshop is genuinely slow work — careful clone stamping, manual colour correction, painting back missing detail, fixing torn edges. A single badly damaged photo can take three to five hours to restore well. Across fifty photos, that is two hundred hours of evening and weekend work, which would have meant the project never actually finishing.
There was a third option I had been quietly aware of but never tried, which was AI-based photo restoration. I had heard mixed things. Some of the early tools left faces looking smoothed-over and waxy, like the photo had been Instagram-filtered into something that no longer looked like a real person. That was the opposite of what I wanted. I wanted my great-grandmother to still look like my great-grandmother, just less faded.
My First Test With Nano Banana
The first photo I tried Nano Banana on was a black and white print of my grandparents on their wedding day in 1951. The print had a long scratch running diagonally across my grandfather’s face, water damage along the left edge, and the corners had been cut off at some point, probably to fit a frame that no longer existed.
I uploaded the scan and asked for the same photo, same composition, same expressions, with the scratch removed, the water damage cleaned up, and the missing corners reconstructed in a way that matched the rest of the photo. I specifically asked that the faces be preserved exactly, not smoothed or altered.
The result was the same photo of my grandparents on their wedding day. My grandfather still had his slightly crooked smile. My grandmother still had the same nervous-and-happy expression I remembered from later years. The scratch was gone. The damage was gone. The corners were filled in with photographic content that matched the rest of the image. The faces, crucially, were untouched.
I cried a little, sitting at my desk, because I had not expected to see them looking that clear since they had been gone for years.
The Colourisation Question
The colourisation question is more complicated, and I want to be honest about how I think about it.
A black-and-white photo is a historical artefact. The decision to colourise it is a creative interpretation, not a recovery. The colors of my grandmother’s wedding dress in 1951 are not actually preserved in the original photo, because the original photo is black and white. Any colourisation is, in some sense, a guess.
That said, Nano Banana is impressively good at making those guesses look natural. Skin tones come out plausibly. Period-appropriate clothing colors look right. Outdoor scenes with grass and sky and brick come out warm and accurate.
I made a rule for myself early in the project. For photos where I had reliable information about the actual colors — a wedding dress my grandmother described in her diaries as ivory, a car I knew from family stories was green — I would specify those colors in the prompt. For photos where I had no information, I would either leave the photo black and white or use Nano Banana’s best guess and make peace with the fact that this was an interpretation, not history.
My mom prefers the colourised versions. They make the people feel more real to her. I keep the original black and white versions filed away anyway, because the originals are the historical document and the colourised versions are the family heirloom.
A Workflow for a Whole Shoebox
By the time I was ten photos into the project, I had a workflow. It is worth writing down because it scales surprisingly well to a whole box.
First, I scanned every photo at high resolution before touching anything. A flatbed scanner at 600 DPI minimum, even for damaged photos. The scan is the digital negative. Everything else gets done from the scan, not from the original.
Second, I sorted the photos into damage categories. Lightly faded but intact. Moderately damaged. Severely damaged or torn. The first category needs the lightest touch. The third category sometimes needs multiple passes with Nano Banana, working on one type of damage at a time — first remove the tear, then fix the water staining, then bring back the contrast.
Third, for each photo I wrote a description that included what I knew about the scene. The names of the people, the approximate year, the location if I knew it, the event. That context helped Nano Banana keep the restoration anchored in reality instead of drifting into generic AI-restoration territory.
Fourth, I never let Nano Banana alter faces or fundamental composition. The whole point of the restoration is that the people in the photo should still look exactly like themselves. I would rather have a slightly imperfect restoration of the real photo than a perfect restoration of a slightly different photo.
The Photos That Could Not Be Saved
Not every photo in the box could be restored, and I want to be honest about that.
A few photos had damage so severe that what came back was clearly Nano Banana inventing rather than recovering. A face that had been partially eaten away by mould could be reconstructed, but the reconstructed face was a guess about what the person looked like, not a memory of what they had actually looked like. I set those aside without restoring them. The damaged original is more honest than a fictional version of the same person.
A few photos were Polaroids in such advanced chemical decay that nothing recognisable was left to work from. Those went into a separate envelope marked “originals only,” and they will probably stay there.
For the photos that did get restored, I tried to keep my taste in check. Less is usually more in photo restoration. The goal is to make the photo look like the photo did on the day it was taken, not to make it look like a modern digital photo. Over-restoration ages badly. A photo that has been clearly AI-cleaned starts to look uncanny within a few years. A photo that has been carefully restored looks like an old photo that has been well cared for.
Printing and Framing the Final Set
Once I had a folder of restored photos, the project was not done. The whole point was to give them back to my mom in a form she could actually display.
I picked the twelve strongest photos — a spread across decades, both sides of the family, formal and informal — and ordered archival prints from a professional photo lab. Matte finish, acid-free paper, the kind of print meant to last another fifty years.
I framed them in simple black frames, identical in size, and arranged them as a gallery wall on the staircase of my mom’s house when she was out of town for a weekend.
She came home and saw them and sat down on the bottom stair and did not say anything for a long time.
Why I Think This Project Matters Beyond My Own Family
Every family I know has a box like this. Photos that are slowly disappearing, photos that nobody has gotten around to digitising, photos that the next generation will not recognise because nobody wrote names on the back. Most of those boxes will eventually end up in landfills, because by the time the right person finds them, the damage will be too far gone to recover.
The window for saving these photos is narrower than people think. Colour prints from the 70s and 80s are still degrading. Polaroids are still chemically ageing. Black and white prints in damp basements are still spotting and curling. Every year you wait is a year of additional damage.
What changed for me with this project is that the cost of doing the work — in money, in time, in skill — dropped low enough that the project became possible for a regular person on a regular weekend. Nano Banana did not make the photos meaningful. The photos were already meaningful. What Nano Banana did was take the technical barrier between me and those photos down far enough that I could actually finish the project, and give the result to the person who would care about it most.
If you have a shoebox somewhere, I would gently suggest opening it sooner rather than later.