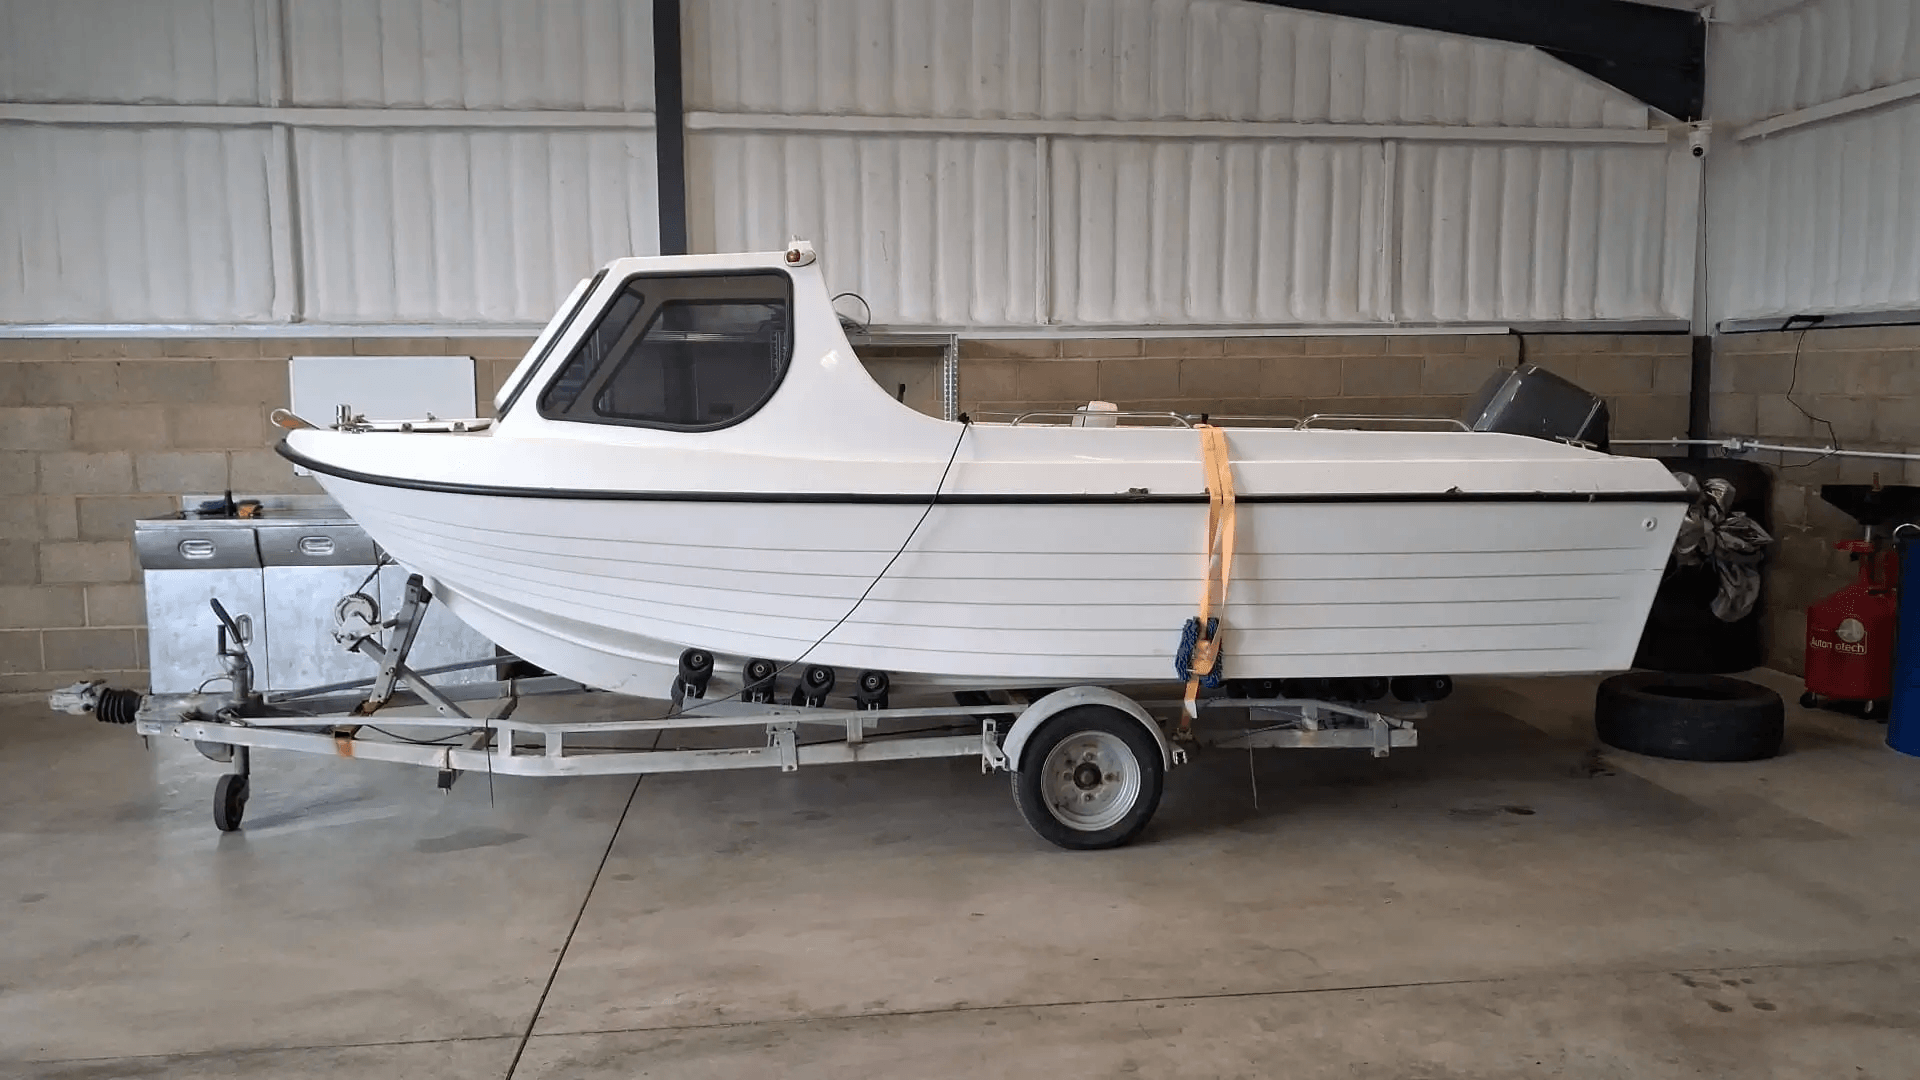
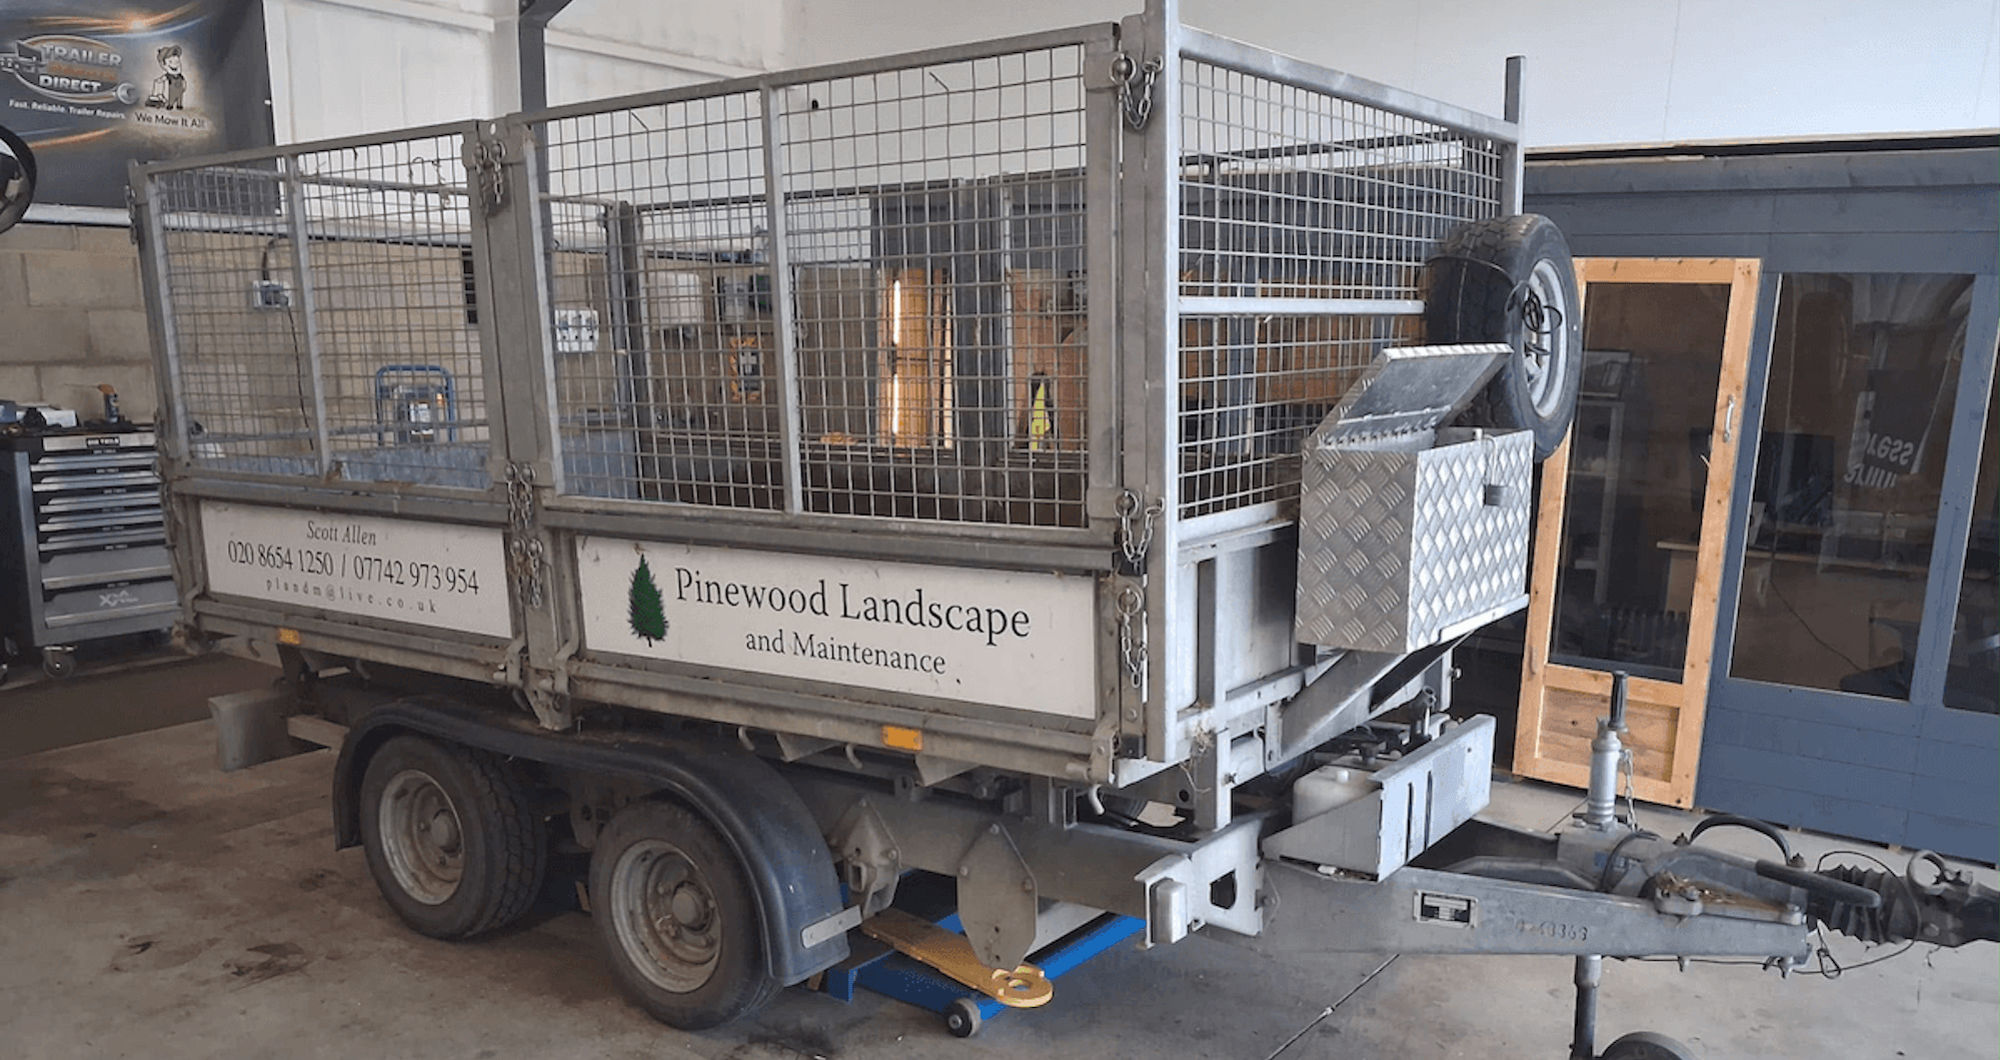

Thousands of trailers across the UK are about to be parked up for the season. Horse trailers, boat trailers, camping trailers and general-purpose flatbeds will spend the next five or six months standing still, frequently outdoors, frequently still loaded, and almost always with the handbrake left on.
The damage that follows is rarely dramatic. It is corrosion, seizure and perishing, and it happens quietly, which is why most owners only discover it in April, at the point they actually need the trailer. The preventative work takes an afternoon. Here is what it involves.
1. Empty it, then wash the underside
Start by unloading the trailer completely. A permanent load compresses the suspension for months at a time and forces the tyres to carry weight while stationary, which is the condition in which they cope with it worst.
Then get underneath it with a hose. If the trailer has been out on salted roads at any point, there will be salt residue on the chassis rails, the brake backplates, the springs and, most importantly, the welds. Galvanised steel is resistant to corrosion, not immune to it, and salt left in place over a winter will find the weak points. Rinse thoroughly, then allow the trailer to dry completely before it goes into storage. Putting a wet trailer under a cover simply traps the moisture against the metal.
2. Leave the handbrake off and chock the wheels instead
This is the single most common cause of spring breakdowns on braked trailers. On an overrun braking system, holding the shoes against the drums for months allows the two to rust together. The result is a trailer that will not move at all, or one that moves but binds and overheats on the first journey of the year.
Park on level ground, release the handbrake and chock the wheels front and back. If level ground is not available, position the trailer across the slope rather than along it, and chock accordingly.
3. Take the pressure off the tyres, and check how old they are
Inflate the tyres to their correct pressure before storage. An underinflated tyre standing in one position for months will deform, and that deformation does not always come out. Where possible, keep the tyres out of direct sunlight or cover them, since UV exposure accelerates perishing.
While you are there, check the date code on the sidewall. It is a four digit number: the first two digits are the week of manufacture, the second two are the year. A code reading 2321 means the twenty third week of 2021.
This matters more on a trailer than on a car, because trailers cover very low annual mileage. A trailer tyre almost always perishes before it wears out, and plenty of remaining tread is no indication of a safe tyre. Common industry guidance for caravan and light trailer tyres is to replace them at around five years, and not to run them beyond seven, irrespective of tread depth. Look for fine cracking in the sidewall and around the base of the tread blocks. If the tyres are approaching the end of their life, winter is the sensible time to change them, rather than the week before the trailer is needed.
4. Check the wheel bearings before they become the problem
Wheel bearings fail because water gets past the seals, washes out the grease and corrodes the races. Boat trailer owners face the worst of this, since the hubs are routinely immersed in salt water and then left to stand.
Jack each wheel clear of the ground, spin it and listen. A dry or damaged bearing sounds rough or gritty. Then hold the tyre at the top and bottom and rock it. Any noticeable play needs investigating. Bearings are inexpensive to repack or replace in a workshop and expensive to ignore: a seized bearing at speed can lock a wheel, or in the worst cases separate it from the hub.
5. Dry out and inspect the floor
Horse and livestock trailer owners should pay particular attention here. Water works its way underneath rubber matting and then has nowhere to go. Timber floors consequently rot from the top down, which means the damage is effectively invisible during a normal walk round inspection.
Lift the matting out, let the floor dry properly, and inspect the timber along with its mounting points. Check around ramp hinges and along the bottom edges of the body panels, which are the other places water tends to collect. Where possible, store the trailer with the matting removed and some ventilation through the body.
6. Protect the electrics and the coupling
Light units fill with water and corrode from the inside out. Plugs corrode too, and a green 13-pin plug in March is a guaranteed delay. Check the seals on the lamp units, apply dielectric grease to the plug pins, and either cap the plug or seal it in a bag.
At the front, clean and grease the coupling head and the ball housing, check the damper for leaks or slack, and inspect the breakaway cable along its full length, including the condition of the clip. Cover the coupling to keep the weather off it.
One further consideration
Where the trailer is stored matters as much as how it is prepared. Out of sight is better than on an open driveway, a hitch lock and wheel clamp are worth the outlay, and most insurers will want to know how the trailer has been secured.
Winter is also the quiet season for trailer workshops, which makes it the easiest time of year to get a service booked. Guidance for light trailers is generally a service every six months or 6,000 miles, and having that done before storage rather than after it means the trailer comes out in spring ready to work. Further detail on what a full service should cover is available from trailer servicing specialists such as Trailer Repair Direct, which serves London, Kent and Surrey.